In this post, we will show you two methods for growing mung bean sprouts at home. One is using inexpensive materials you may already have at home. And one is an almost hands-off method using a bean sprout machine.
Shortly after starting my blog, I posted how to grow mung bean sprouts. That method uses a colander that fits into a slightly larger bowl. These sets and often be found at larger Asian markets, and they are cheap. The only problem with this method for the best results, you need to water several times per day.
To fit growing sprouts into my busy schedule, I decided to try a bean sprouts machine. They cost more than a colander and can not perform other functions in the kitchen. But the idea of not watering sprouts in the morning sounded good to me.
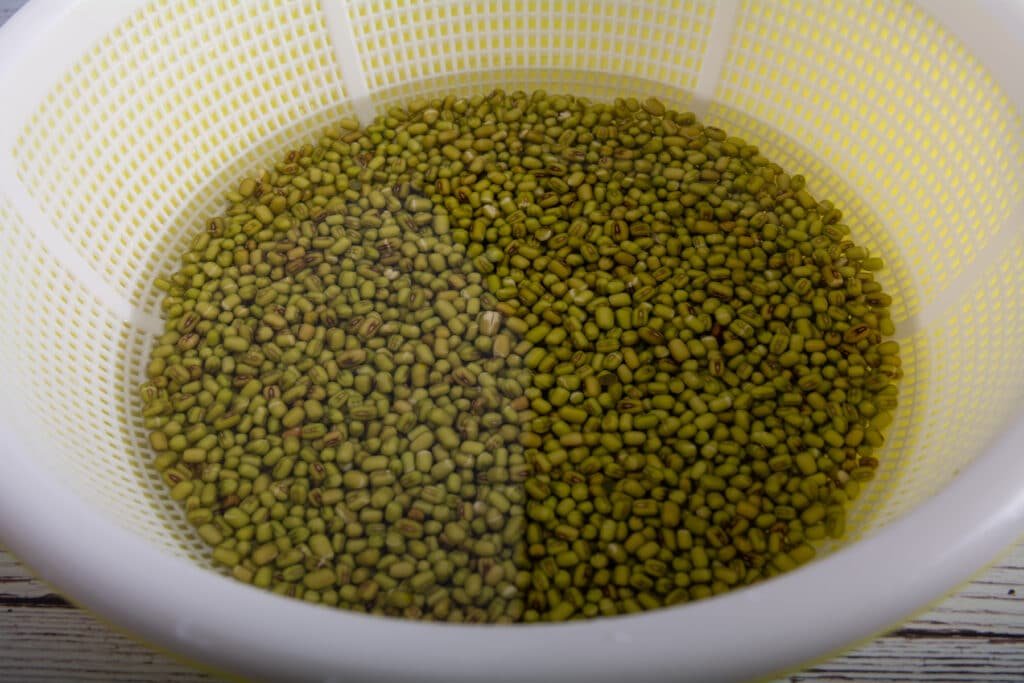
On Sunday morning, I started to soak the seeds. After ten hours of soaking the these were rinsed with clean water, covered, and placed into a dark closet.
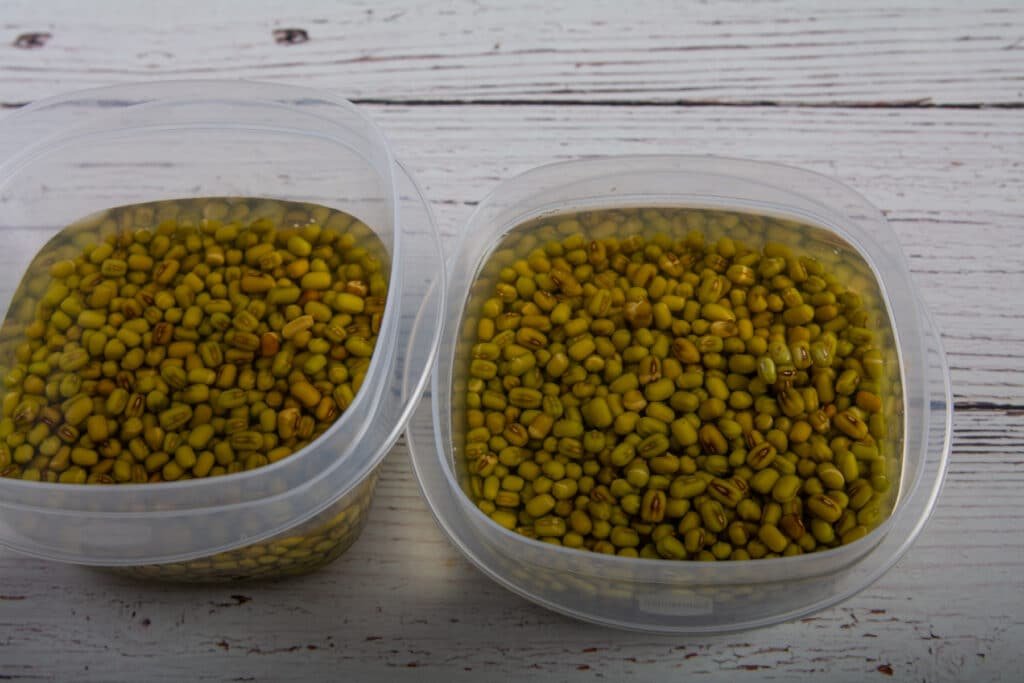
The seeds going into the machine were also soaked for ten hours. Each tray received seventy-five grams of seeds.

After soaking the seeds were spread out onto the trays.
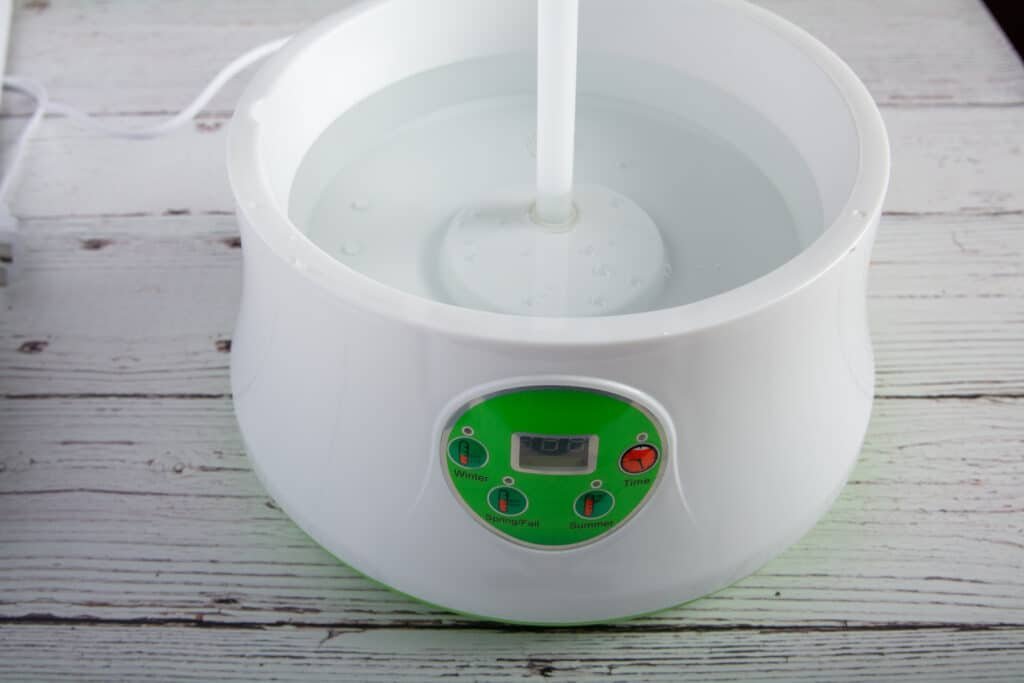
The machine filled with water.
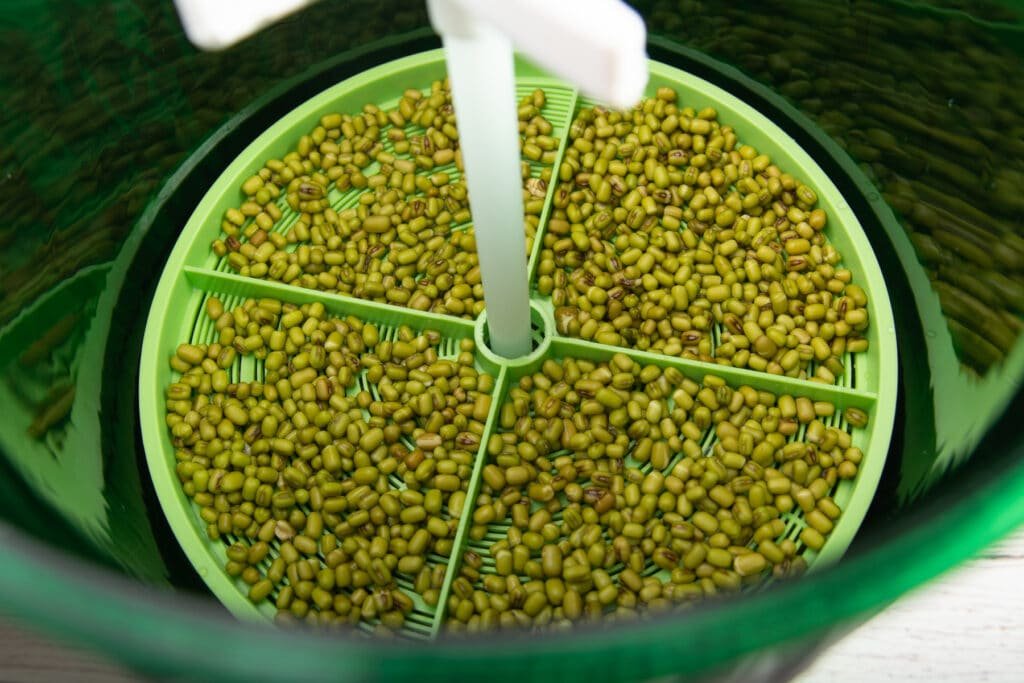
The trays were placed into the machine. This is a tricky part. There is not really a good way to hold the trays while lowering them into the machine. But I did manage to do it without spilling the seeds. Then I put the cover on the machine. I plugged it in and selected Spring and Fall. The AC keeps the room at 72F, so that is like Spring. If your room is hot, then select Summer, and if cold select winter.
After turning the machine on, the pump turns on, and the sprinkler at the top will start to turn and water the sprouts. It is on time based on the season selected. It will occasionally turn on to water the sprouts. It’s now good for twenty-four hours.

This is what the seeds looked like on Monday evening. The seeds in the colander (I did water every morning before work) are starting to sprout. The ones in the machine are slightly ahead of the other sprouts. Both sets of seeds received fresh water.
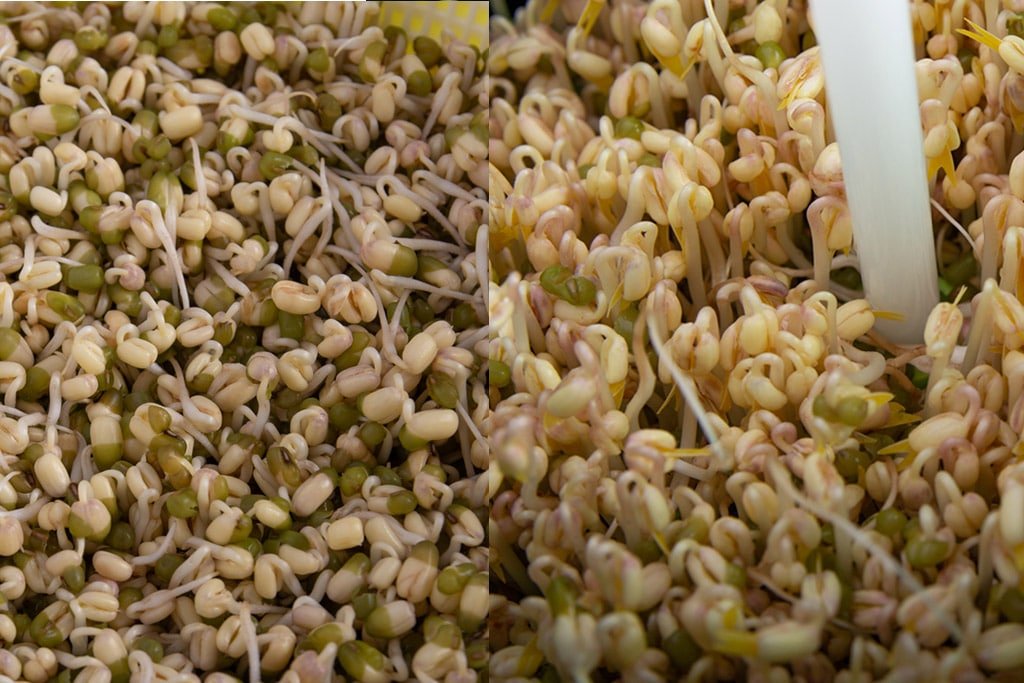
This is what they looked like on Tuesday evening. The ones in the colander are sprouting, but the ones in the machine are really growing. Both sets of sprouts received fresh water.
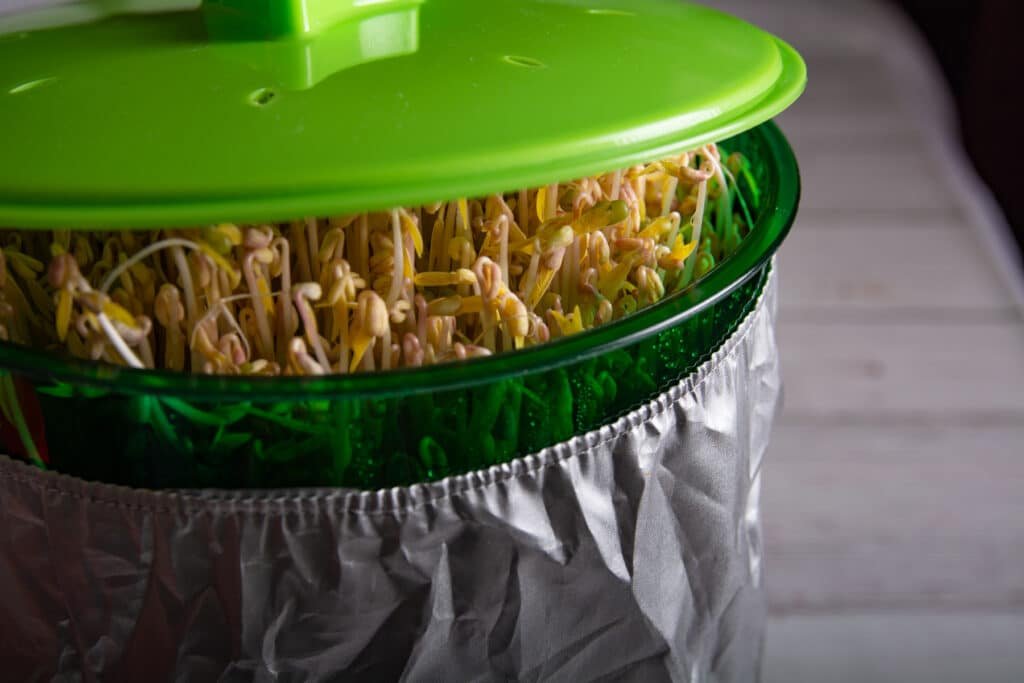
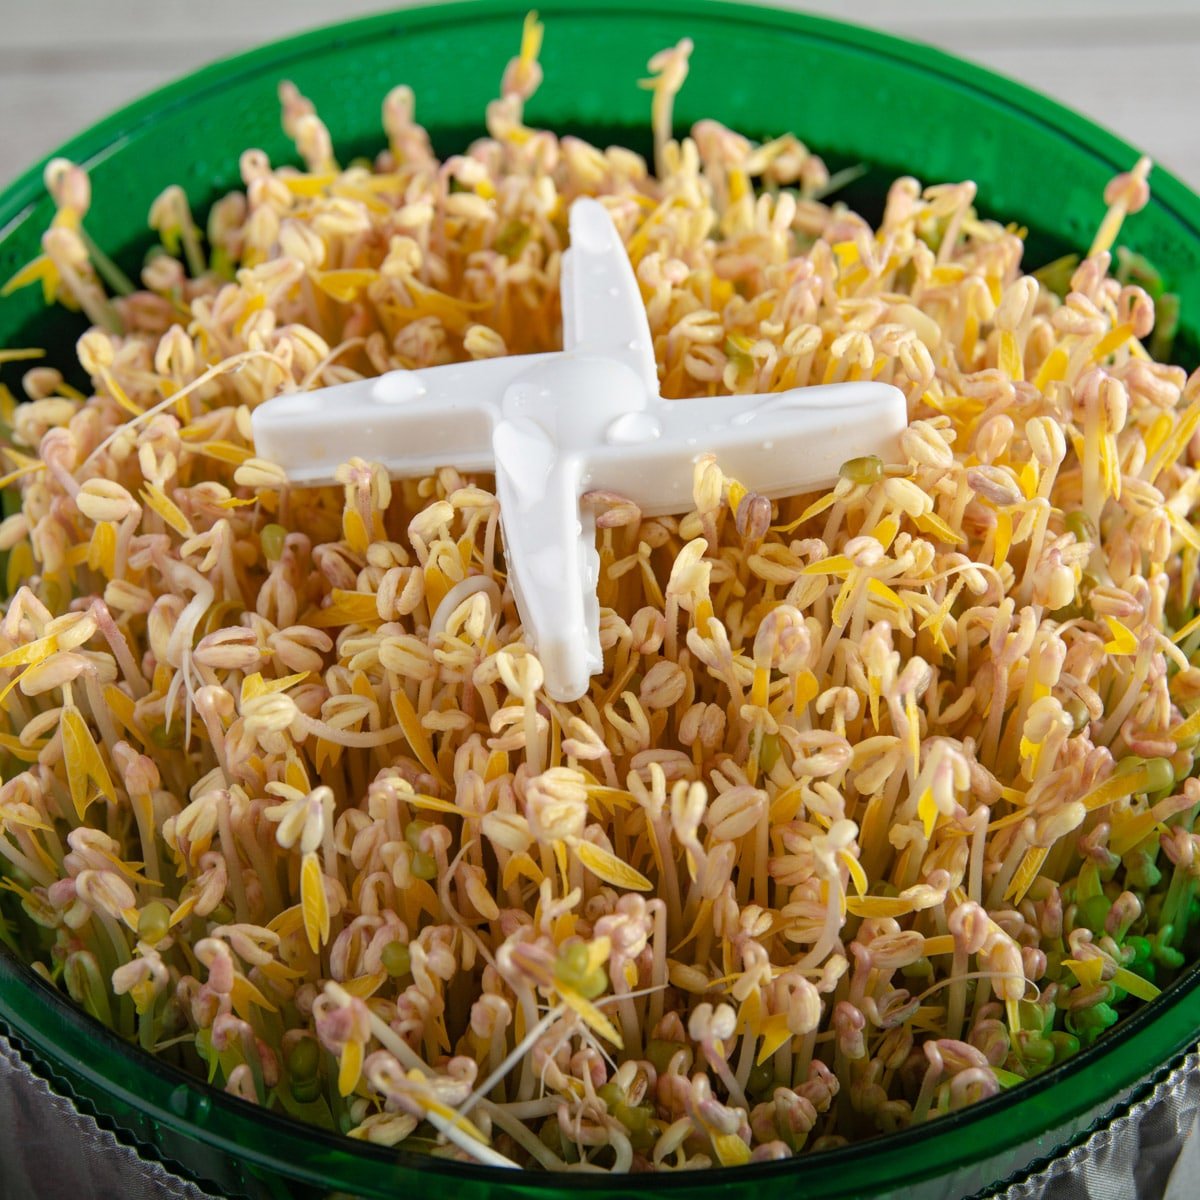
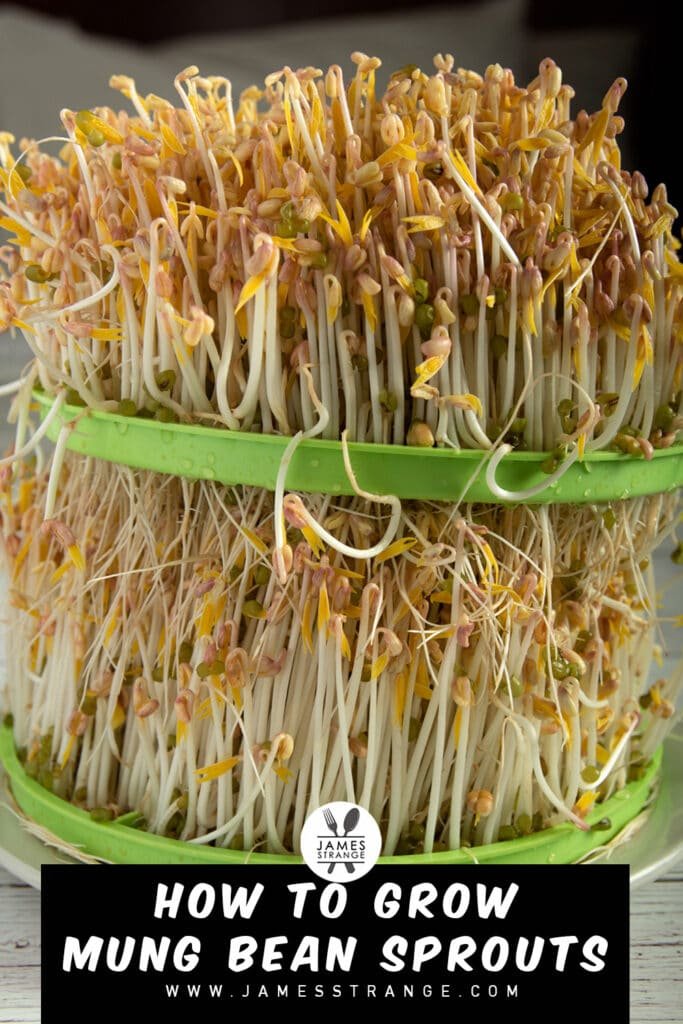
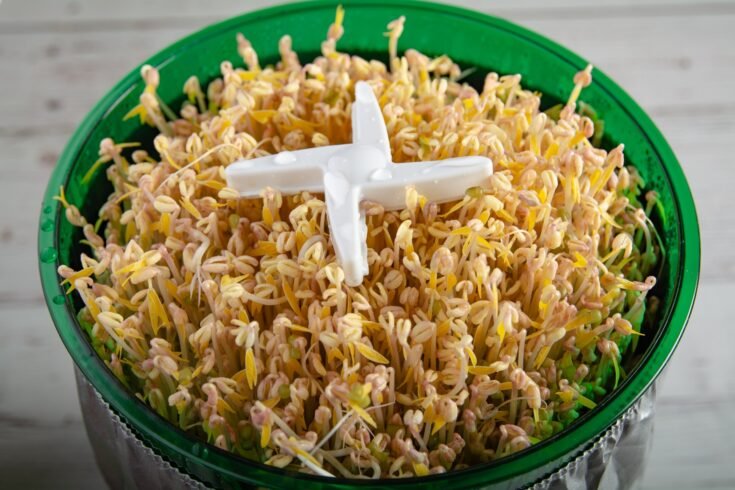
After work on Wednesday evening, the sprouts growing in the machine were pushing the lid open.
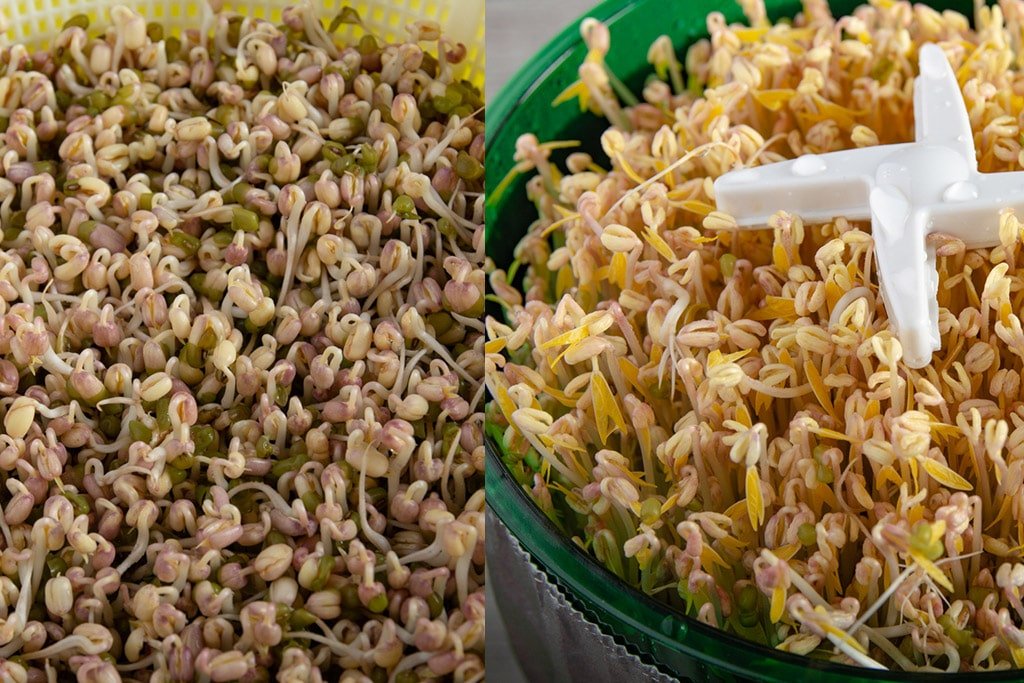
This is the comparison of how they looked. The ones in the colander received fresh water.

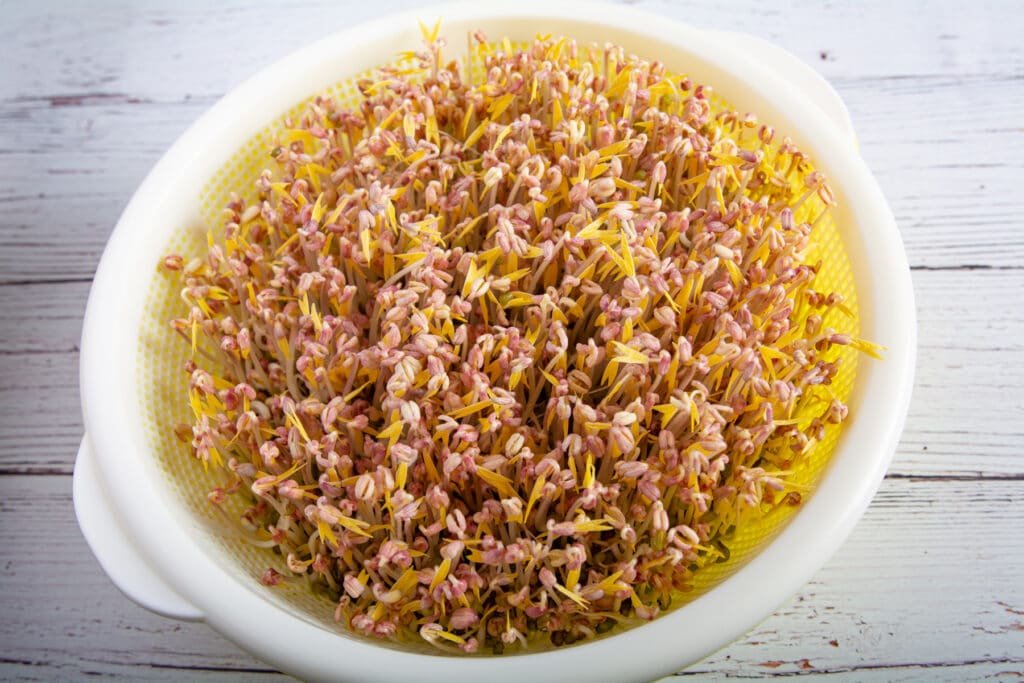
After removing the trays this is what I was able to harvest.
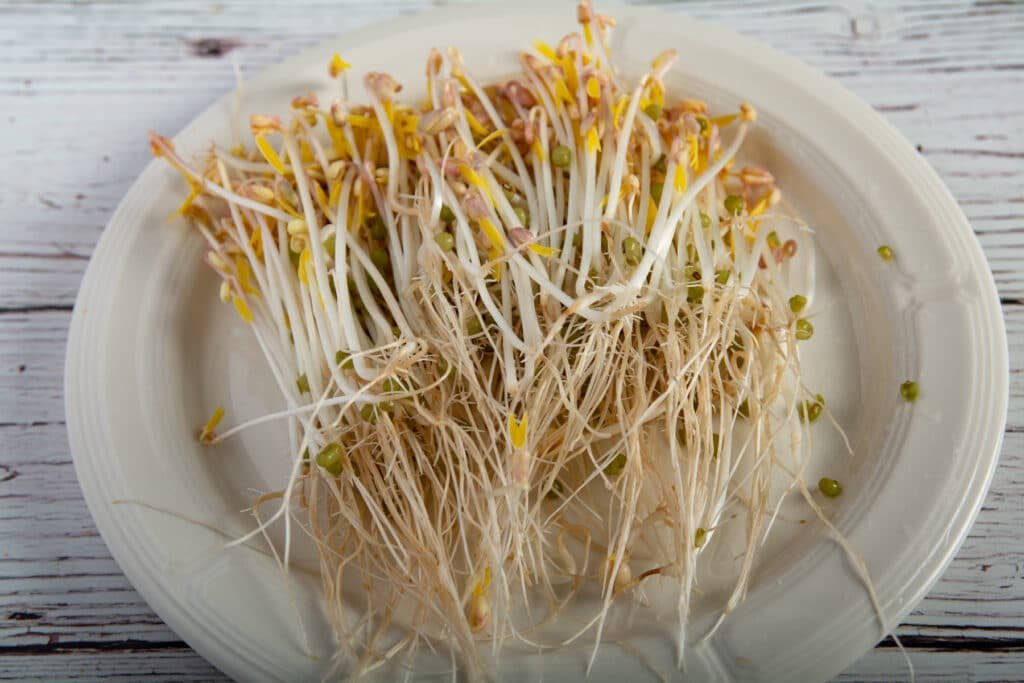
This is what they looked like after pulling them out. Due to the possibility of bacteria growing in a moist environment, sprouts should be cooked before eating. But I had to try one, and it was crunchy and delicious.
Saturday evening, the sprouts growing in the colander are ready to harvest. They were nice and crunchy, but the ones grown in the machine did taste better. These were slightly bitter. But this can be avoided by water five or six times throughout the day.
The bean sprouts are perfect for this simple recipe.
Is it worth buying a bean sprout machine?
The question really is, should you buy a machine for growing bean sprouts? In my situation, it is worth buying one. But for you, it may not be worth pay for a machine. So let’s go over the advantages and disadvantages.
Advantages:
The machine maintains constant perfect growing conditions. It will maintain these conditions around the clock. To do this, using a colander would require you to rinse the sprouts several times per day.
Faster: Due to perfect growing conditions, the sprouts grow faster in the machine. But if you were to give the ones in a colander more attention, they will also grow faster.
The machine only requires interaction once per day. The colander method requires several interactions per day.
Disadvantages:
Cost, you will have to purchase the machine. You may already have something that will work around the house.
Electricity, the machine requires electricity. Growing sprouts in a colander requires no electricity.
Please share this how to with your friends.
How to grow mung bean sprouts
How to grow mung bean sprouts using a bean sprout machine.
Materials
- Mung bean seeds
Tools
- Bean sprouts machine
Instructions
- Soak 100 to 150 grams of mung bean seeds in water for 8 to 16 hours.
- Fill the machine's reservoir with water.
- Assemble the machine, except for the sprinkler.
- Pour off the soaking water and divide the seeds. Spread the seeds out onto the two trays. Place the trays in the machine.
- Attach the sprinkler and cover.
- Select the season based on the temperature of the room.
- Change the water every day.
- When the heads just start to open the sprouts are ready to harvest.