This post will show you how to convert flour into shreddable seitan. It requires no special equipment and no vital wheat gluten. Some people do not like seitan due to the flavor of vital wheat gluten. The off-flavor has something to do with the industrial process to remove the gluten.

This is not a complicated process, but it does take some time. The only hard part is massaging the gluten to remove the starch.
Personally, I prefer the flavor of hand-washed seitan, but an easier method is to make it with vital wheat gluten. You can read about that process here.
Why is seitan so high in protein
Wheat is mostly starch, fiber, and protein. Most of the starch is washed away to make seitan, leaving behind the gluten (protein). This gluten is what gives bread strength to rise or stretch. You will often hear bakers talk about activating the gluten.
Most commercially available flour made from wheat will have a protein content from ten to fourteen percent. If all of the fiber and starch is washed away, all that is left is just protein. The protein that is left is very chewy (almost like gum) and has almost no flavor.
Exact measurements are not required, and the method is very forgiving. I will give exact measurements for what I used but do not worry about being exact.
If you are on Facebook and interested in the handwashing method, Grace Meyer runs a very informative (and slightly wacky) Facebook group.
I am sure some people will ask why to make or eat seitan. For me, it’s about controlling gout. For others, it’s about not eating animals. Seitan is a gout friendly meat substitute that can closely mimic meat. For gout sufferers, commercial seitan will often be very high in sodium.
To start things off, I mixed 500 grams of all-purpose flour with 275 grams of water. This gives hydration 55%; you can add more water, but this is what I like. Gold Medal flour was used; it’s the brand my Mom always used. But the type of flour is not that important. But I did have a meager yield from a very cheap store brand.
Bread flour will give a higher yield, but it is more expensive. You can use whole grain or any other flour that has gluten.
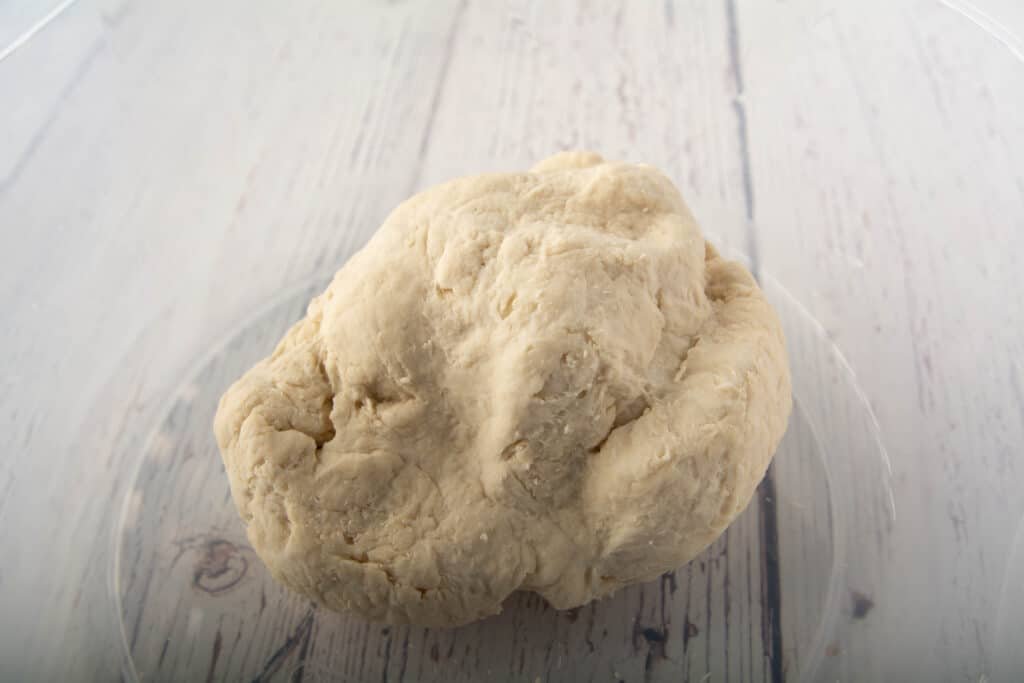
After kneading for a few minutes, just to combine the flour and water, let it rest for at least ten minutes. The above picture was taken after kneading for three minutes.
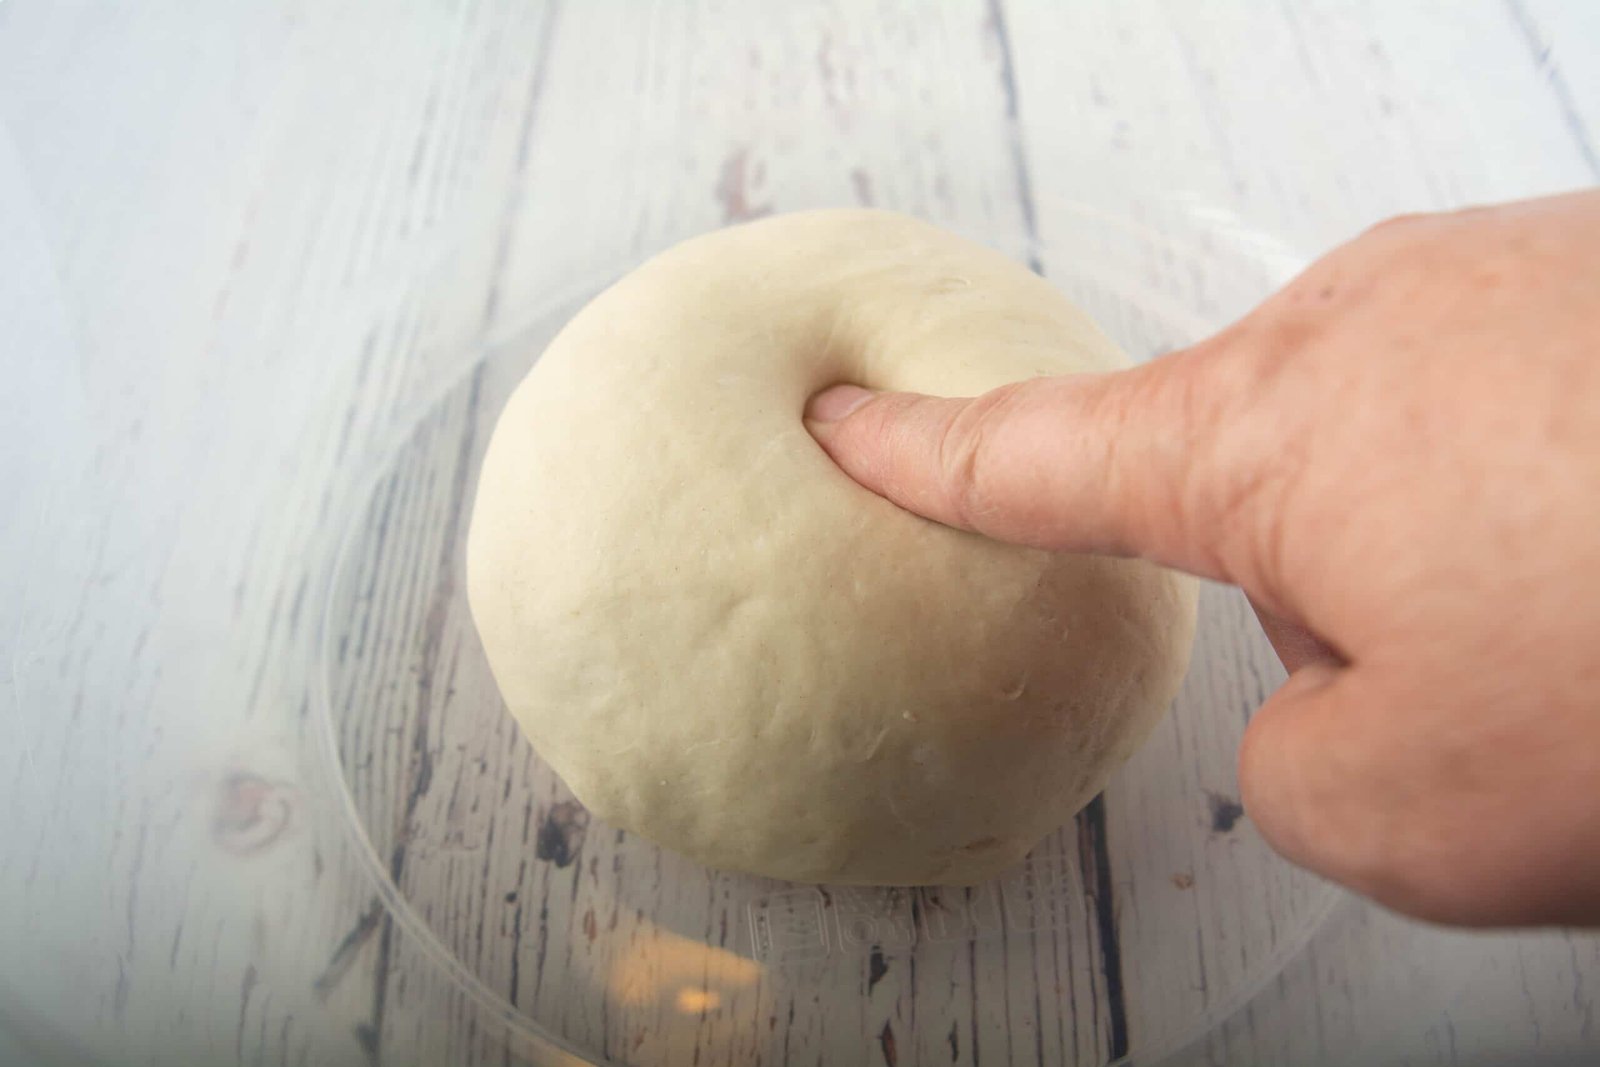
After the dough has rested, knead for a few more minutes. Knead until you get a dough that will bounce back when pressed with your finger. But no reason to get carried away. We were not making bread and were going to let time do the work for us.
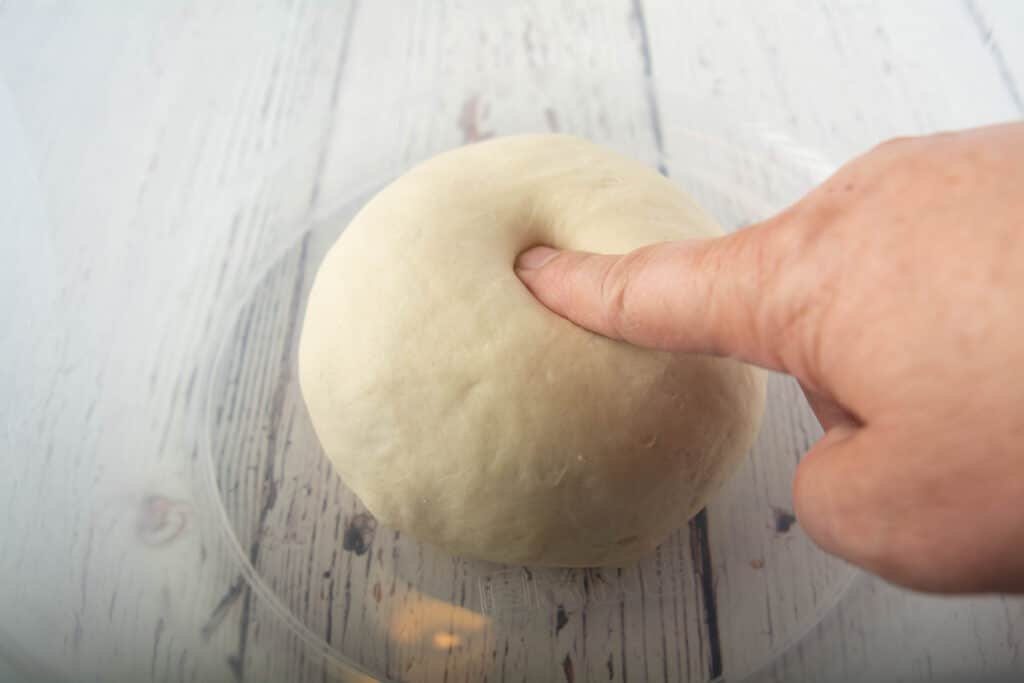
The above photo is of the dough after kneading for three minutes, rest for fifteen minutes, kneading for five minutes then resting for two hours. Notice when pushing the dough offers very little resistance.

The dimple also fairly quickly bounces back. Cover the dough with a damp cloth towel, let it rest overnight.

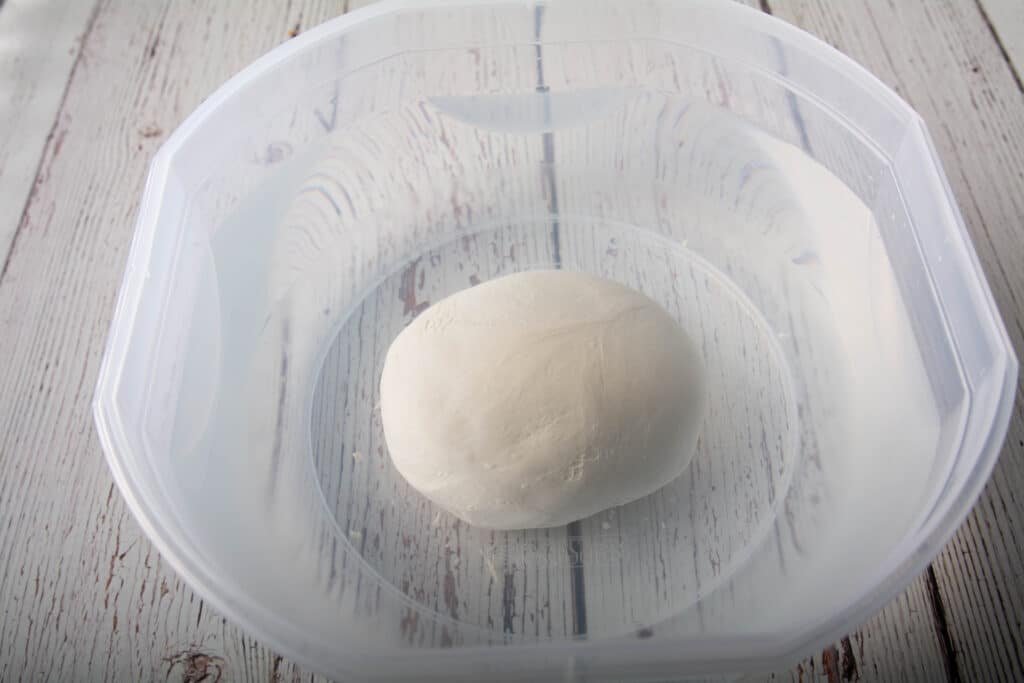
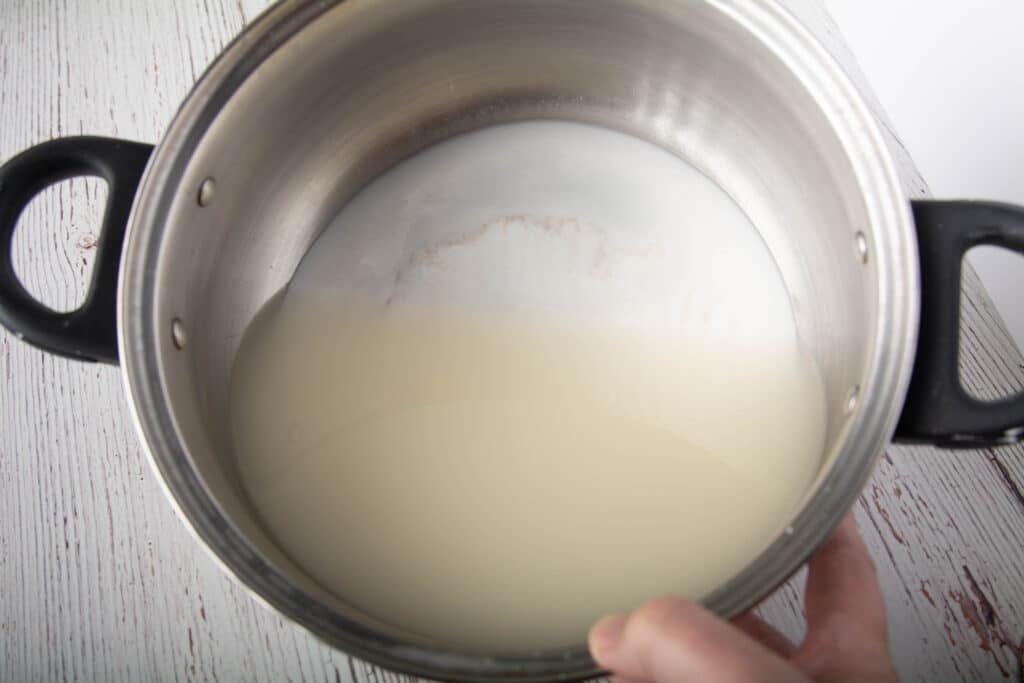
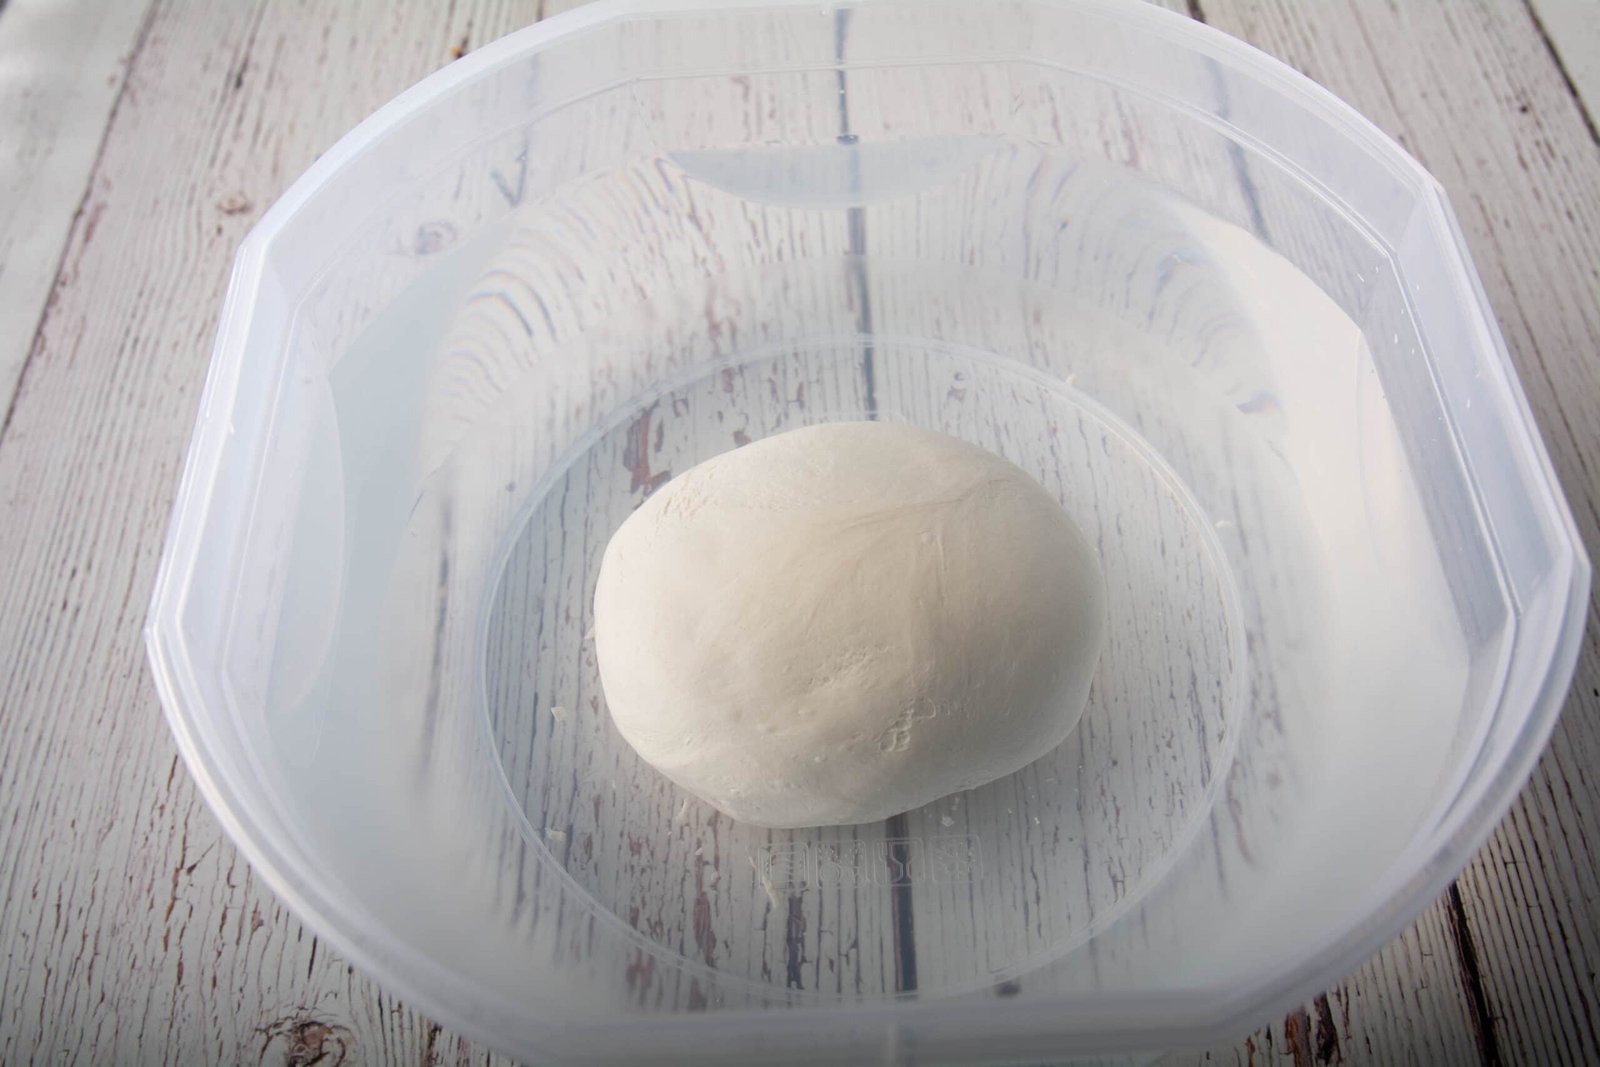
The dough looked like after about fourteen hours of resting (on the counter at room temperature). Notice how stretchy it is. The process of letting the gluten develop on its own is called autolyze. Now that the gluten will hold together, we are ready to wash out the starch.
If we had added one percent of salt, this would be perfect for making chewy noodles. But that will be in a future post.
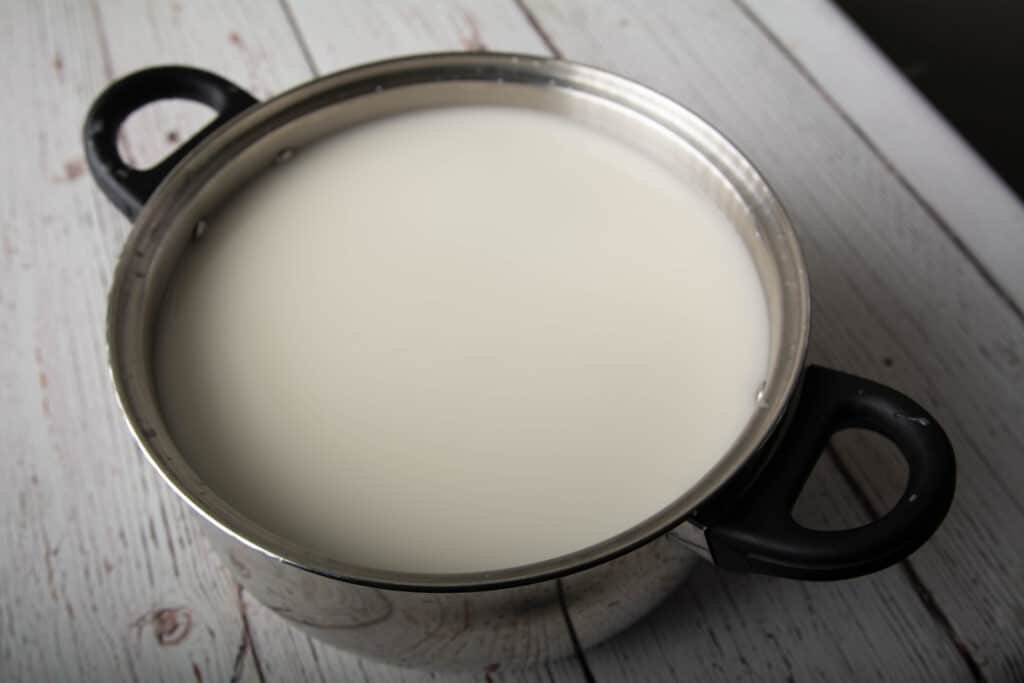
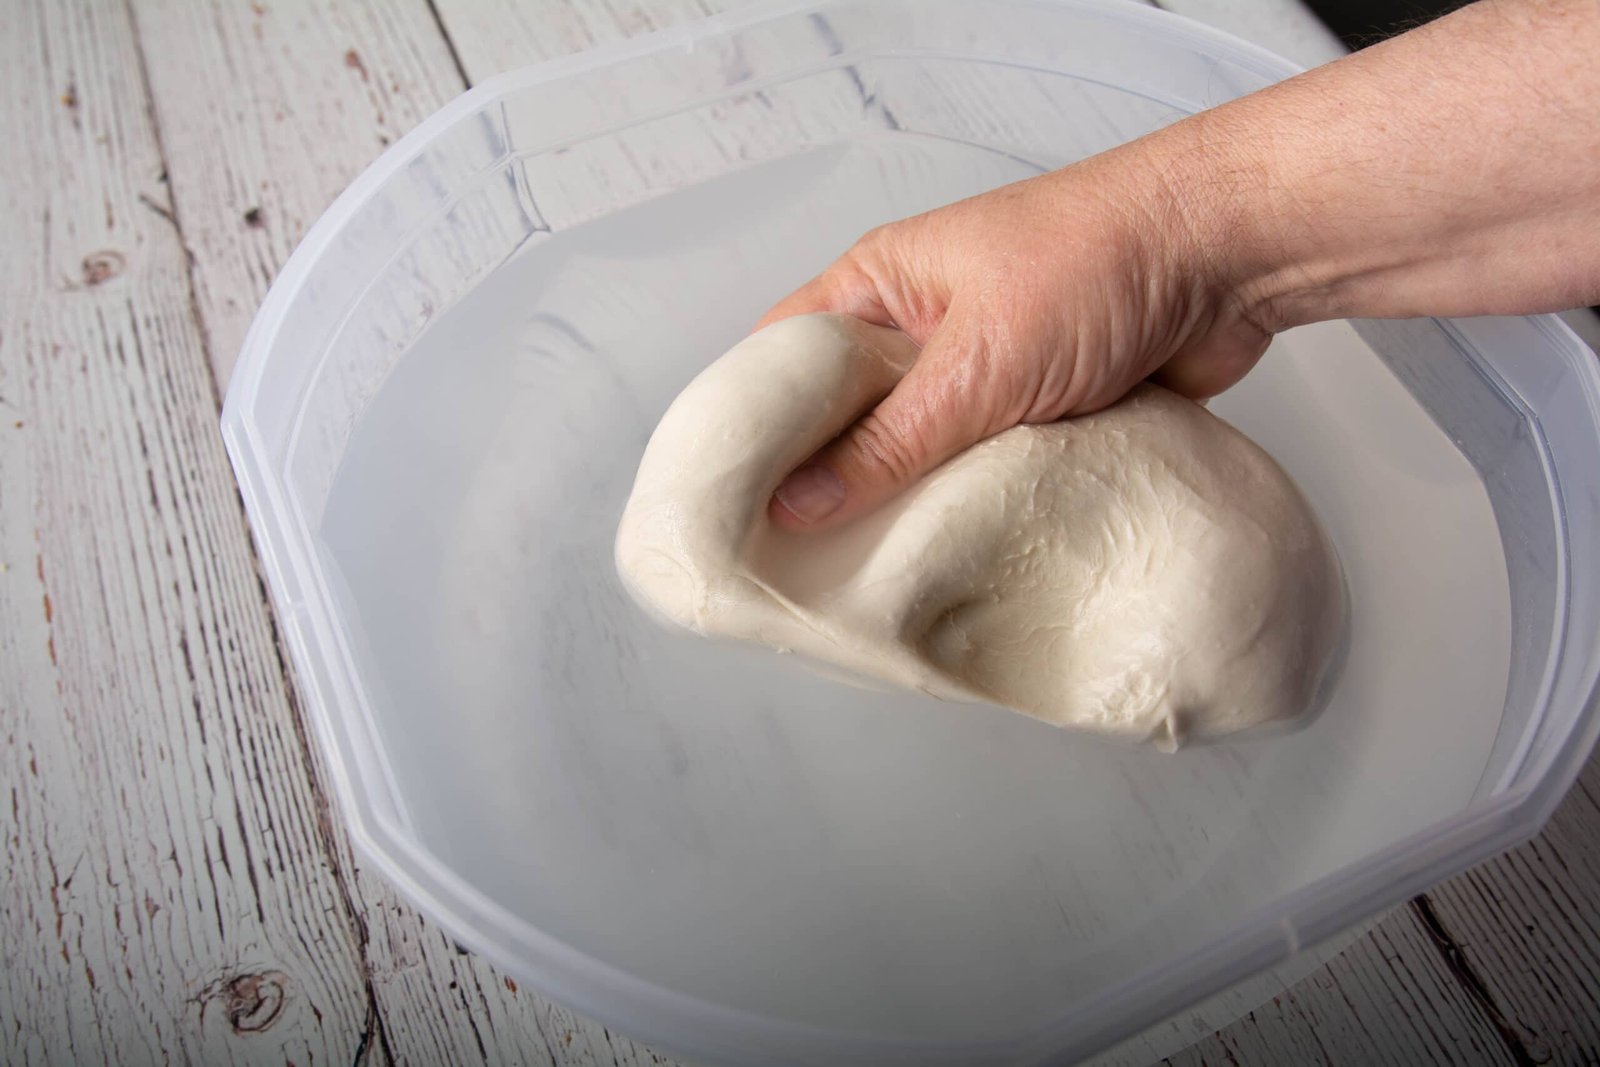
Cover your dough with lots of water.

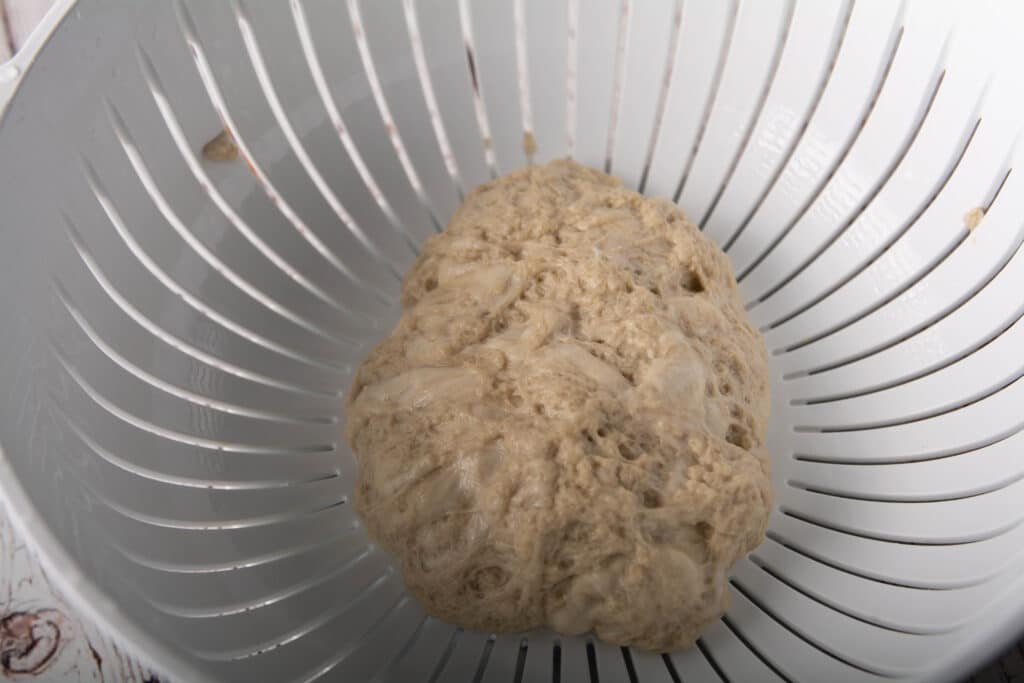
Use your clean hands to gently massage the dough ball so that the starch comes into contact with the water. The water will quickly become cloudy from the starch. But keep working the ball. Keep pushing the gluten strands back into the ball and gently massaging.

When it starts to look like a brain, it is time to start working it under gently running water.
The starch you remove can be used to make Liangpi or cold skin noodles. To do that, pour the water and starch into a big bowl of pot. Let it sit undisturbed for several hours.
Then pour off a kind of clear water, leaving behind a little of the water and the starch. Please give this a good mix, put a thin layer into an oiled pan, and steam until it has set (about ten minutes). Coat the top with oil, remove from the pan and repeat until all of the starch has cooked.
Let the stach cool down then cut into noodles.
Since I do not have a way to steam the noodles and do everything else I need to do in the hotel, I did not try to make the noodles.
After removing the gluten from the big bowl of water, place a colander or strainer in the sink. Under gently running water, continue to massage the gluten to remove most of the starch. When the water is almost clear, and no big white spots remain, you’re done.
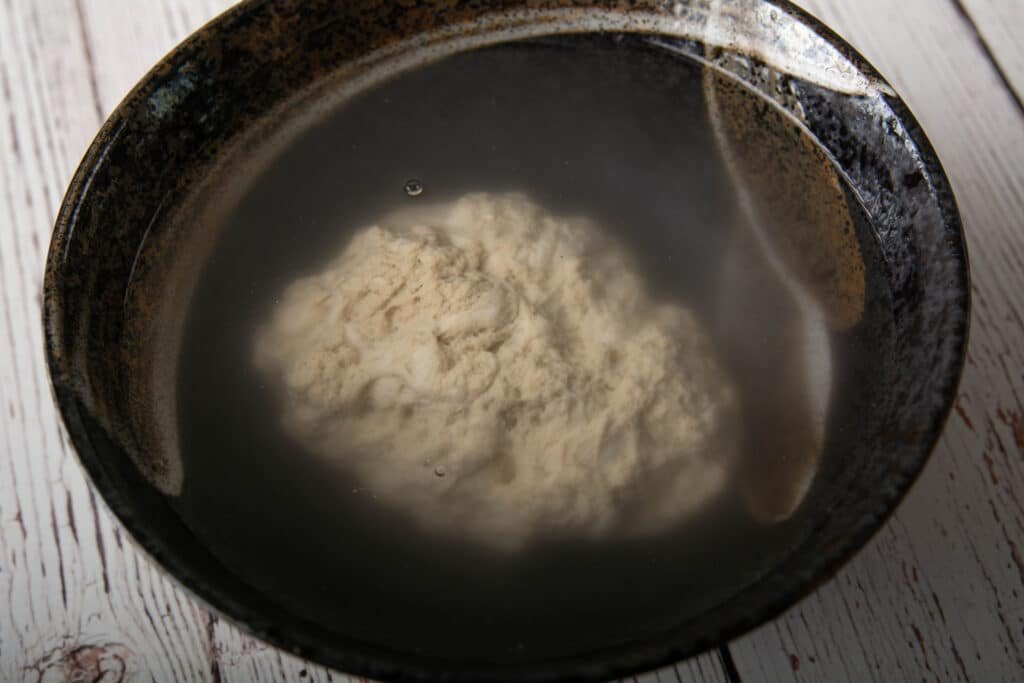
Now let the gluten relax. Place in a bowl and cover with cool water. Let it rest for at least one hour.
Congratulations you now have an almost flavorless chewy ball of gluten.
Seasoning is up to you, and this can also depend upon how you plan to use the seitan. Do you want it beefier or closer to chicken?
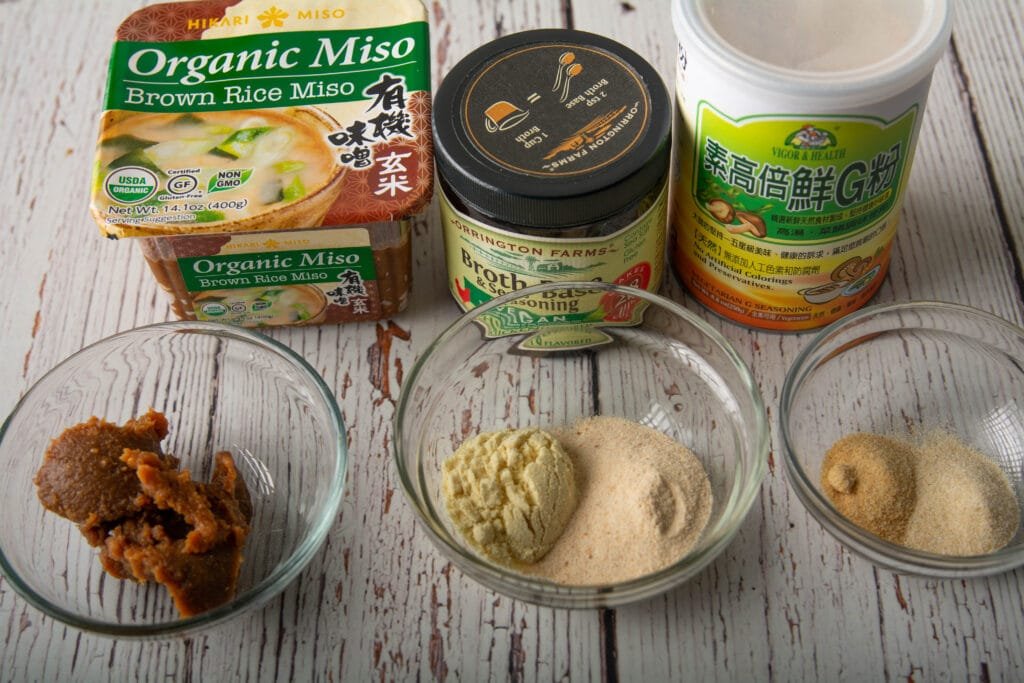
I used two Tablespoons of brown rice miso. Most recipes for seitan call for white miso. But brown miso gives more umami and depth of flavor.
Two tablespoons of bouillon were used. In this batch, two different bouillion powders were used. One is basically a yeast extract that mimics the salty goodness of MSG. One is made from mushroom and kelp with minimal salt.
I also added one teaspoon of garlic powder and one teaspoon of onion powder.
Some people use MSG, but since that can be a gout trigger, I severely limit how much MSG I consume. It is tough to avoid MSG completely, but I do the best that I can.
Tip use more seasoning than you think it will take. Remember, the gluten has almost no flavor.

Half of the seasoning went into a pot with water. The other half went into the seitan.
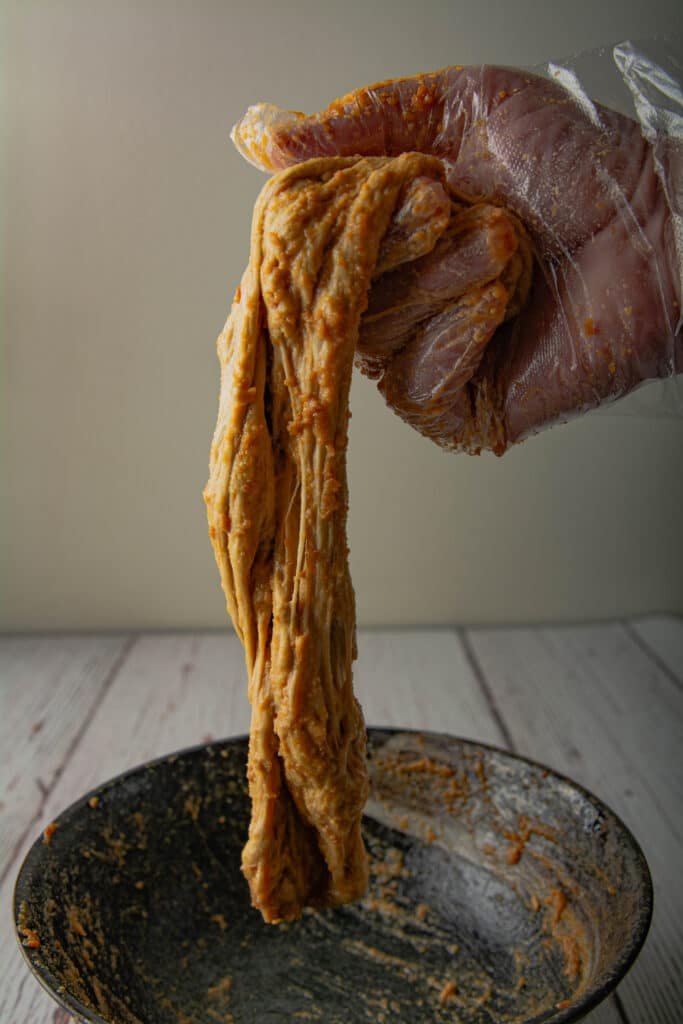
For this batch, I just used my hands to mix the seasoning into the seitan. Poke it with your fingers, squeeze and mix it up. Some people use a food processor for this step but remember this post requires no special equipment.

You can use it just like this. But I stretched it out like a rope and loosely tied it. If you can tie it, then it will be more shreddable.

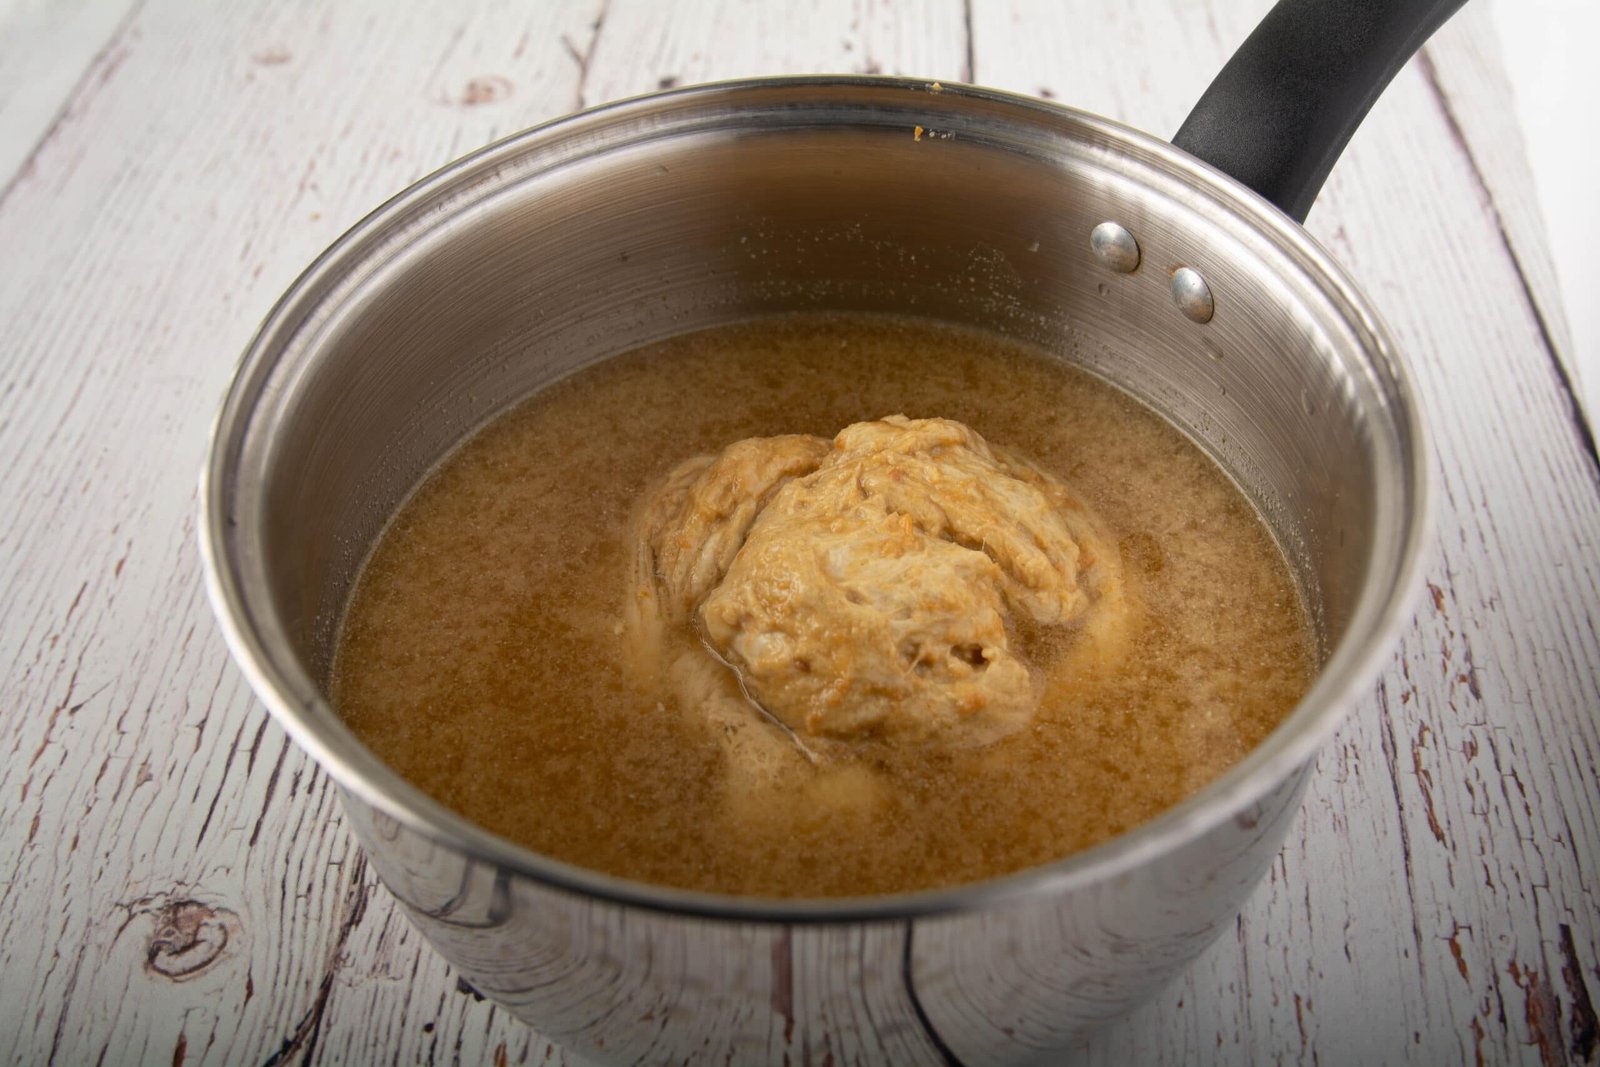
Place the seitan into the pot with seasonings and cover with water. Simmer for at least two hours, adding water as needed. About halfway through cooking, turn the seitan over. After two hours, please turn off the heat, cover, at letting it sit for another hour. (crock pots on high work great for this step)
Important notes: Simmer do not boil and keep the seitan covered.
You can certainly use the seitan after it has finished simmering, but it’s better to let it sit overnight (in the fridge, of course).

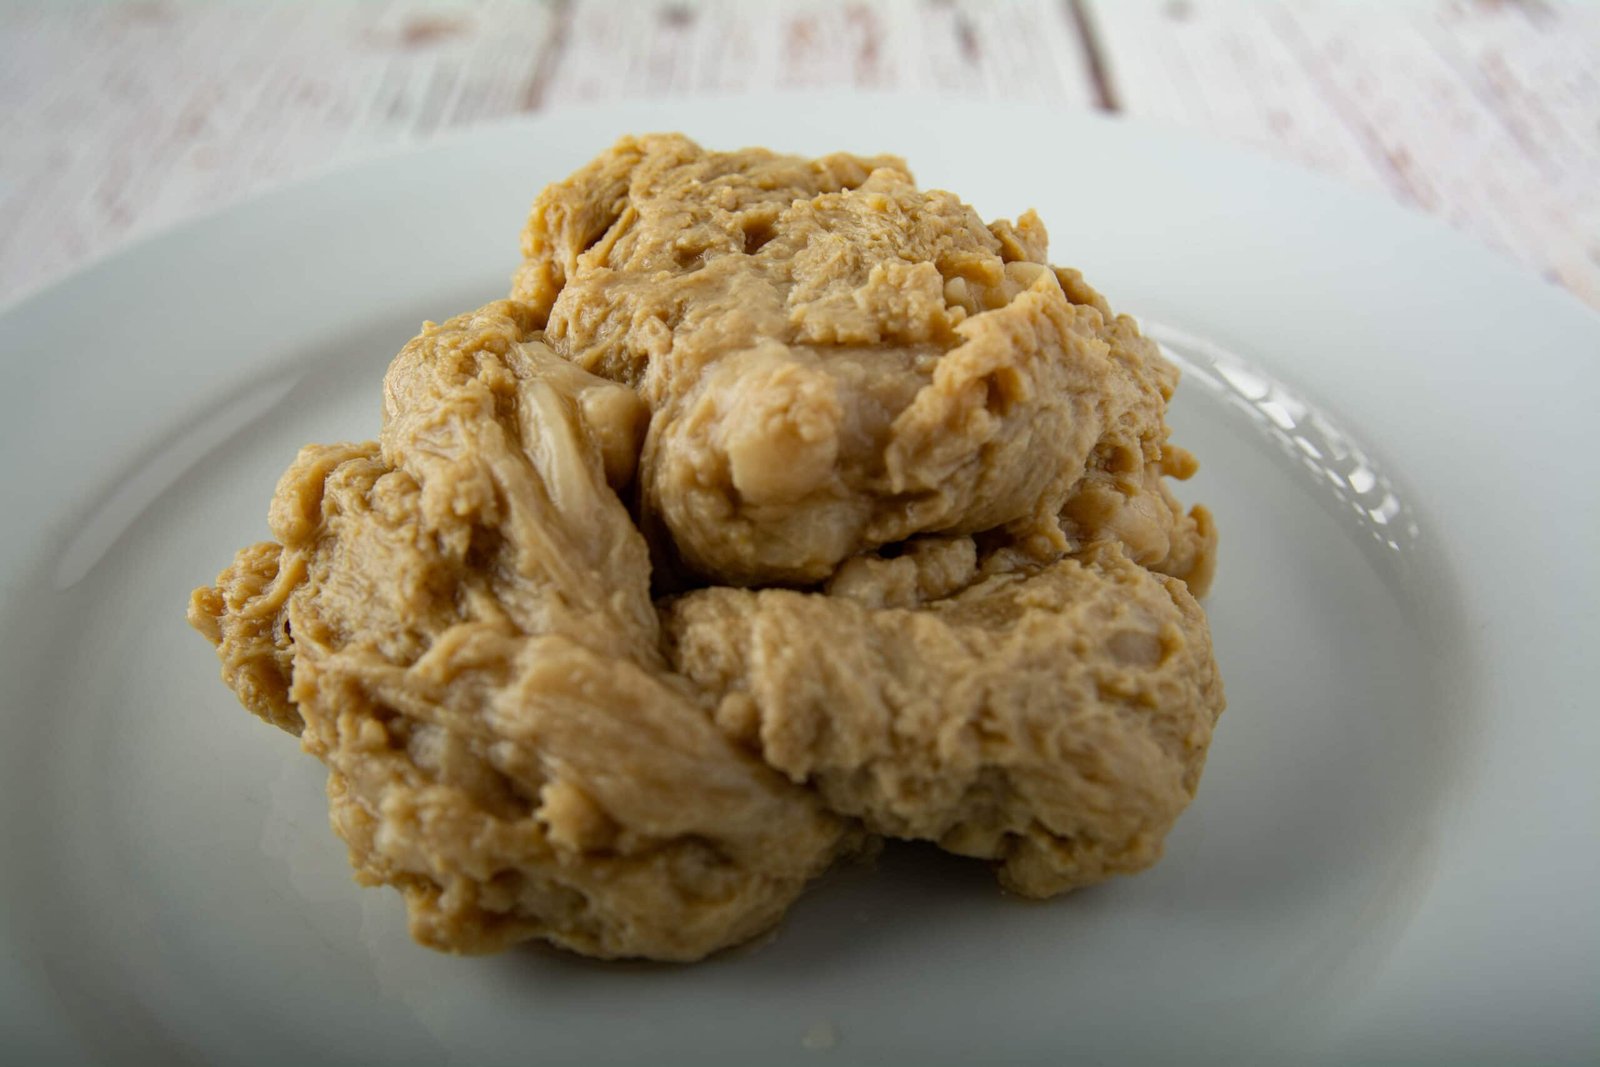
This is what we get after letting it sit in the cooking liquid for twenty-four hours. The areas that were on the outside were a lot softer than the inside. If you want your seitan to be more firm, do not soak it overnight.
This is what it looked like after tearing it apart. The weight after shredding was 340 grams. But it was still very wet.
How long will seitan last in the fridge
Seitan will last up to one week in the refrigerator, but I usually eat it before that. If you do not plan to use it in a few days, you can freeze it for up to six months. If you freeze it, take the seitan out of the freezer and place it in the refrigerator the day before. Or take it out and steam it a few minutes before using it.


How to hand wash flour to make seitan.
How to hand wash flour to make seitan. No special equipment or vital wheat gluten required.
Materials
- 500 grams flour
- 275 grams water
- Seasonings of choice
Tools
- Large bowl
- Damp towel
- Pot
Instructions
- Mix the flour with water
- Knead for three minutes

- Let rest for fifteen minutes
- Knead for five minutes.
- Let rest covered overnight
- Cover with water
- Massage out the starch
- Place the gluten into a colander
- Under cool running water massage out the remaining starch
- Cover with water and let rest for one hour

- Mix your seasonings
- Add half of the seasoning to a pot with water

- Add half of the seasoning to the seitan and massage in.
- Add the seitan to a pot
- Cover with water and simmer for two hours
- Turn off the heat, cover and let sit for one hour.
- Allow to cool and place into the fridge overnight.
I love this stuff, I wanted to subscribe but something is wrong and it won’t allow me to.
thanks
Thank you for letting me know the signup form was broken. Must have been from the last site update. And yes it should now work.