Growing up in the South, I was surrounded by folks who had the magic touch for homemade biscuits. My mom and grandmother whipped up some delicious ones, but the absolute best buttermilk biscuits were a specialty of my great-grandmother. She’d be in the kitchen, chatting away with everyone, and when the moment was just right, she’d open that old wood-fired oven, give the biscuits a quick turn, and back to chatting she’d go. Those biscuits always came out fluffy and that perfect golden brown, exactly what I crave in a biscuit.
Up until recently, I had my fair share of biscuit struggles and had to settle for canned ones. But guess what? You don’t have to rely on canned biscuits any longer. Today, I’m thrilled to share my easy homemade biscuit recipe – these biscuits are all about fluffiness and that gorgeous golden brown top.
I’ll let you in on my secrets for achieving the flakiest biscuits too. The write-up will be packed with tons of tips, including substitutions and more, to help you create the perfect biscuits tailored to your taste. But if you’re ready for the recipe, just click the “Jump to Recipe” button, and let’s get baking!

Basic Ingredients:
Flour: In the South, we kept it simple with all-purpose or self-rising flour for biscuits. If you go with self-rising flour, you can skip the baking soda. Some folks swear by White Lily flour, others are loyal to Gold Medal – but beware, flour brand debates can get heated. Avoid getting tangled in those discussions! Keep your flour dry and snug in an airtight container.
Weighing Flour: For precision, I weighed my flour. A cup of all-purpose flour is approximately 120 grams. This recipe calls for 3 3/4 cups, totaling 450 grams. It works perfectly in my kitchen with my flour brand, but you might need slight adjustments for yours.
Salt: Salt is our flavor enhancer – it keeps things from tasting bland. I prefer fine sea salt, but any fine salt will do the trick.
Baking Powder: Baking powder is the secret to achieving biscuits that rise beautifully without becoming overly heavy. We’re aiming for fluffy, not super-light like dinner rolls. If you’re using self-rising flour, you won’t need extra baking powder.
Sugar: A dash of sugar aids in rising and browning. White sugar is the norm, but I’m using raw sugar.
Fat: Fat acts as a lubricant for rising and adds the perfect crumb texture. Traditionally, lard was a favorite in the South. You can choose from lard, butter, or vegetable shortening, with shortening offering a more neutral flavor. Unsalted butter gives a buttery richness – it’s my wife’s favorite. This recipe calls for vegetable shortening, but feel free to use any of these or even neutral cooking oil. Just be aware that oil can lead to biscuits that tend to crumble.
Milk: For this recipe, we’re using regular milk, and it works well with whole milk, skim milk, or even alternative milk like oat milk. If you’re craving that unique tang that only buttermilk provides, you’d need to add a bit more than the recipe calls for. Lemon juice won’t do the trick; it makes sour milk. True Southern buttermilk biscuits require the real deal.
Oil or Melted Butter: This gives your biscuits that lovely golden brown top. You can cook them longer for the same effect, but be cautious not to turn them into hockey pucks. Today, I went with olive oil, but my wife swears by butter for that golden hue.
Since biscuits rely on basic ingredients, it all boils down to handling the dough. For fluffy biscuits, the key is to handle the dough as little as possible. Add the liquid to the dry ingredients at the last minute to limit gluten formation – a fantastic thing in bread but not ideal for biscuits. Handle your dough with care, and you’ll achieve biscuit perfection!
Cutting Fat into Flour: Traditionally, we’d use a pastry cutter or our hands to blend the fat and flour. This method shortens the protein strands in the flour, resulting in tender and flaky biscuits with a delightful crumb. If you’re going with lard or vegetable shortening, they can be cut in at room temperature. But if you opt for butter, it should be cold.
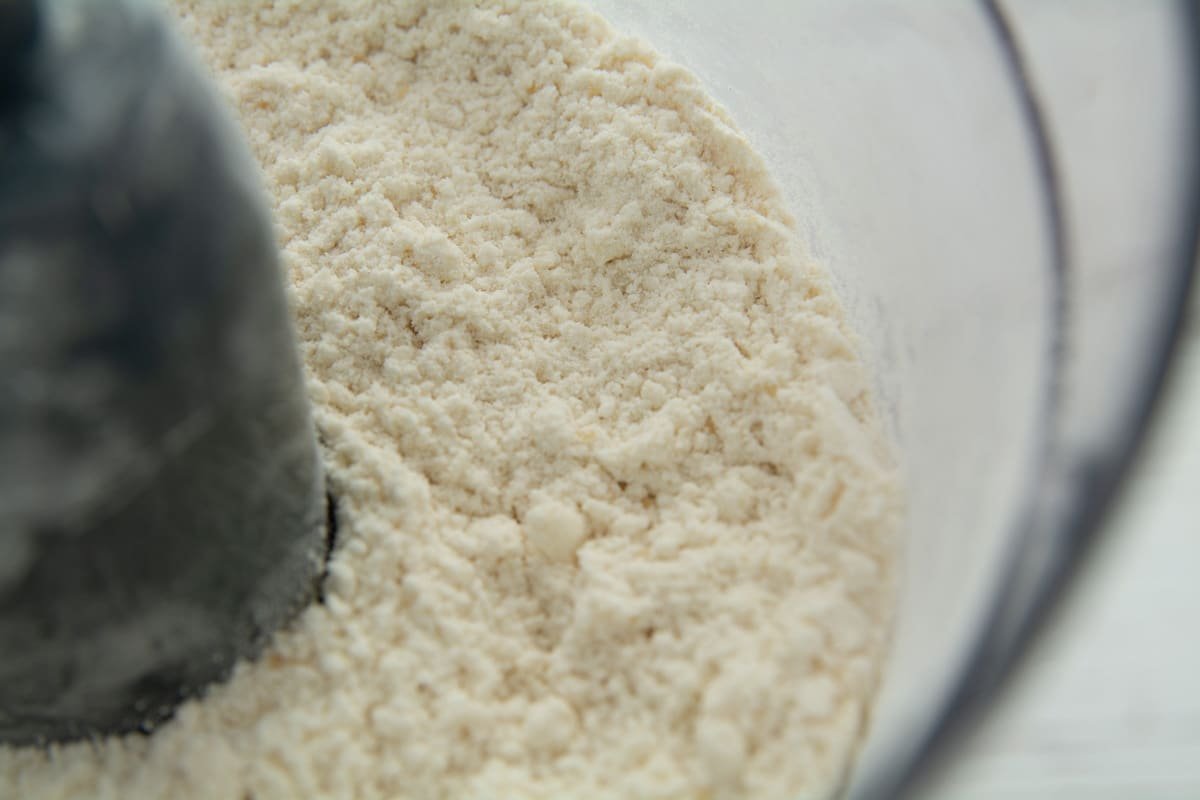
Food Processor Shortcut: To keep things super easy, I’m using a food processor. I start by adding half of the flour, along with all the other dry ingredients and the vegetable shortening. I give the food processor a few pulses until the fat is well combined with the flour, and it takes on the appearance of petite balls.
A Little Note: Be cautious – when I attempted this with all the flour at once, I learned the hard way that flour can escape the food processor, making a big mess. Not something my wife was thrilled about, so take this as a friendly warning!
And don’t forget to preheat your oven while you’re at it. Let’s get those biscuits baking!

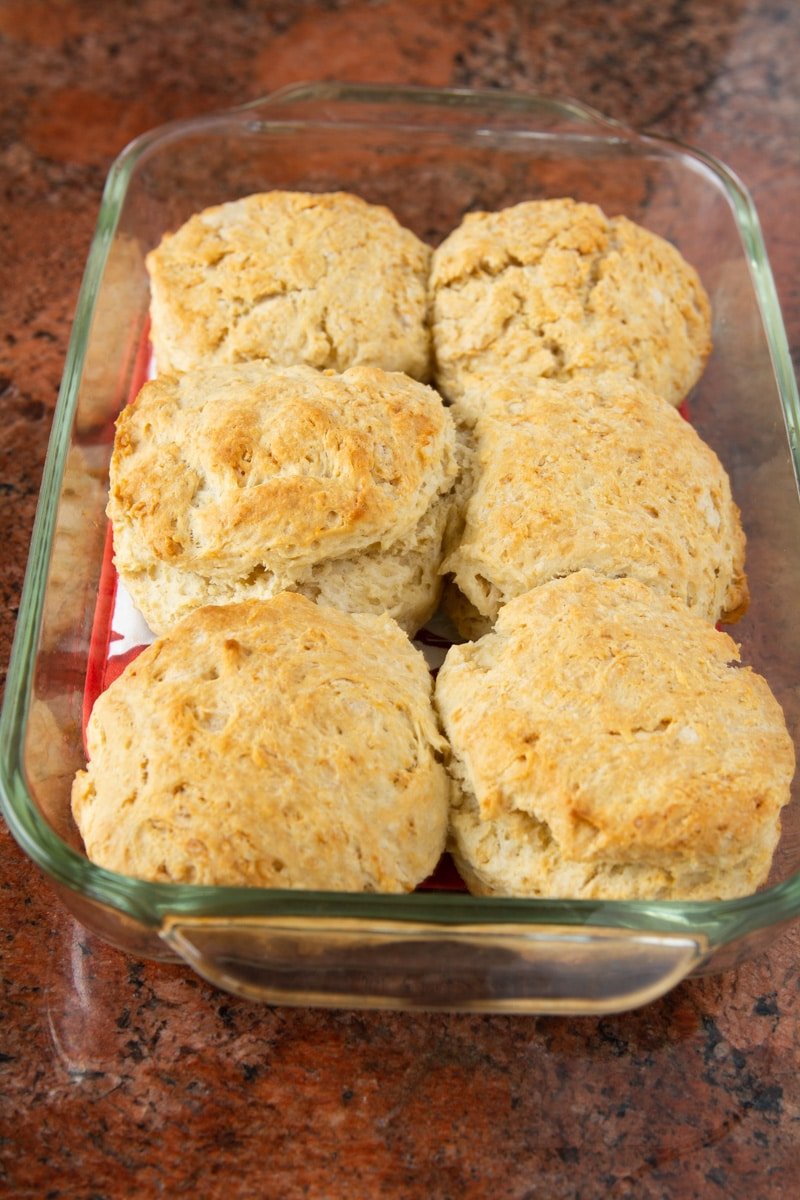
Baking Dish Choice: To achieve that perfect rise, it’s best to use a single layer in a dish. I used a glass 11 X 7 oven-safe dish for this recipe, and a cast-iron skillet works wonders too. Before adding the biscuits, grease the dish with about half a tablespoon of vegetable shortening. Butter or oil will yield the same fantastic results.
Combining the Dough: In a large mixing bowl, add the remaining flour and the flour mixture from the food processor. I like using a silicone spatula for easy cleanup. Gently stir to combine, but a pro tip: opt for a larger mixing bowl to make the process mess-free. After all, a messy kitchen can lead to an upset wife, but no worries, I cleaned up before she noticed. All is well!
Adding Milk: Once the oven is preheated and your dish is perfectly greased, it’s time to introduce the milk to your biscuit dough. Use a spoon to fold the milk into your flour. You’re looking for a crumbly dough with a few dry spots. When it’s ready, turn the dough out onto your work surface. It should be slightly sticky, but if it’s overly sticky, sprinkle some flour on your work surface. A few small dry spots are perfectly fine, so no need to overwork the dough.
Now, we’re getting closer to those delectable biscuits!

Shaping the Dough: Without the need for a rolling pin, use your hands to shape the dough into a long, flat log. Aim for a thickness between 1/2 and 3/4 of an inch. The log should be long enough to form five biscuits.
Cutting the Biscuits: Grab a round biscuit cutter, and here’s the technique: push down firmly, then give the cutter a gentle wiggle to release the biscuit from the log. As you cut them out, place those lovely biscuits into your prepared baking dish.

No Dough Left Behind: Once you’ve cut out the initial five biscuits, don’t forget to gather all the scrap dough. With it, you can craft one more biscuit. Now your baking dish should hold a delightful six biscuits, and having them touching is just what we want. When they snugly lean on each other and the sides of the dish, they’re all set to rise to the occasion.
But hold your horses, we’re not quite oven-ready yet!

Adding Fat: Before we pop these biscuits into the oven, they need a nice coating of fat. Today, I brushed on some olive oil, but you can use whatever you have on hand. Melted butter is an excellent choice as well.
Now that they’re nicely coated, we’re ready to get baking! You did preheat your oven, right?
Baking Time: Set your oven to 425°F (218°C), and let those biscuits bake until they turn a gorgeous golden brown. In my oven, this usually takes around thirty-five minutes.
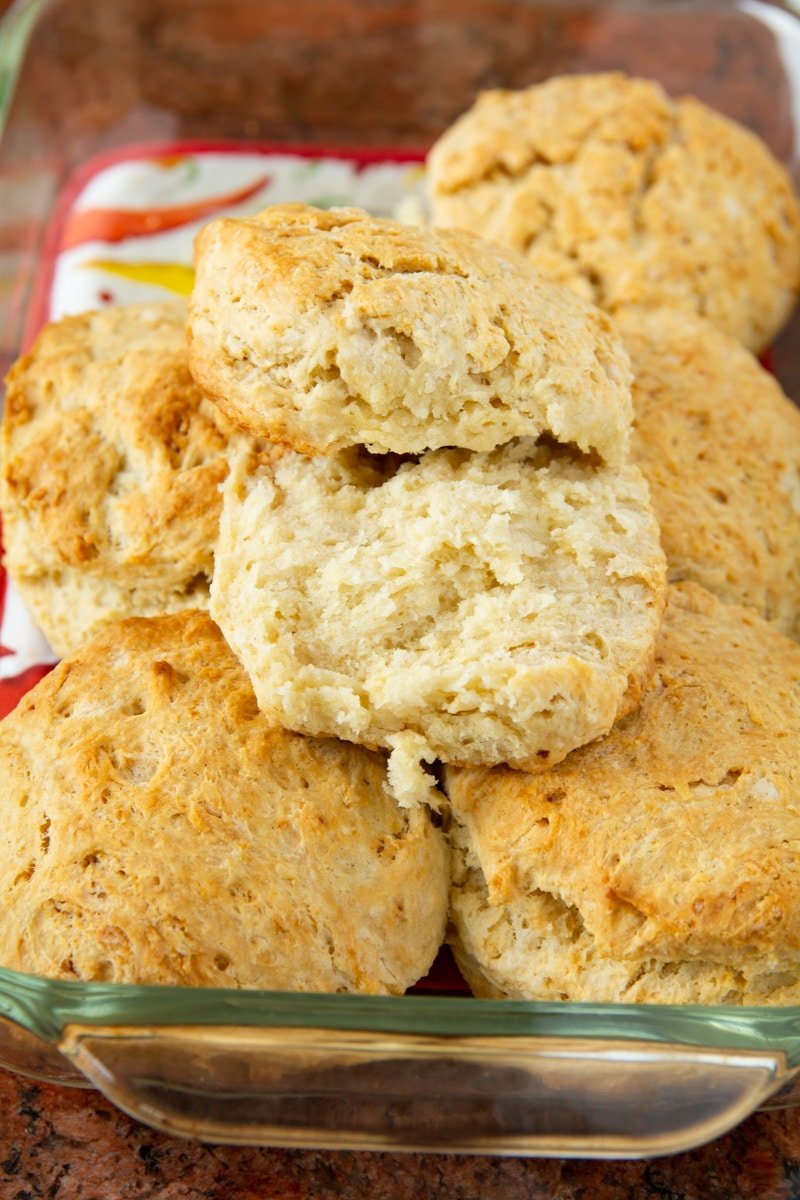
With these golden delights, you’re all set to create breakfast sandwiches or smother them with homemade country gravy. You’ve mastered the art of making delectable biscuits, and the possibilities are endless! Enjoy every delicious bite.

Well, folks, we’ve achieved biscuit greatness, and I’ve gotta say, that crumb is looking so nice it might just win a beauty contest! But let’s not let those biscuits get too carried away with their newfound fame – they’ve got hungry folks waiting to enjoy ’em. So let’s dig in and savor the deliciousness!

If these biscuits brought a smile to your taste buds, why not spread the joy? Share this fantastic recipe with your friends and let them savor the deliciousness too. After all, good food is even better when it’s shared!

Ingredients
Biscuit dough
- 3.74 Cups All purpose flour 3 3/4 Cups or 450 grams
- 5 Tablespoons Vegetable shortening
- 2 Tablespoons Baking powder
- 1 Tablespoon Sugar
- 1.5 teaspoons Salt
- 1.25 Cups Milk 1 1/4 Cup of regular milk
Other
- 1/2 Tablespoon Vegetable shortening To grease the pan
- 1/2 Tablespoon Oil Or butter for the top of the biscuits
- 1 Tablespoon Flour For dusting the counter (if needed)
Instructions
- Preheat your oven to 425F or 218C
- Grease a baking pan with vegetable shortening
Prepare Dough
- Combine the flour, salt, sugar, baking powder, and mix.
- Add the vegetable shortening, then using your hands, pastry cutter of a food processor, cut the shortening into the flour. When finished, the dough should look like petite balls.
- Add your milk to the flour mixture. Gently combine the flour and milk.
- Turn the dough out onto your work surface (if need dust with a little flour) and shape into a long log 3/4 of an inch thick.
- Using a biscuit cutter cut our your biscuits and place them into your greased pan.
- Gather up any dough scraps and form them into more biscuits.
- Add oil or melted butter to the top of your biscuits
Bake
- Bake your biscuits in an oven preheated to 425 F until the tops are golden brown. They are now ready to serve.
Do not bake these for 30 minutes! Following directions as noted above, and my biscuits were golden brown in about 15 minutes.
Bob, thanks for posting your results. It will help others.